
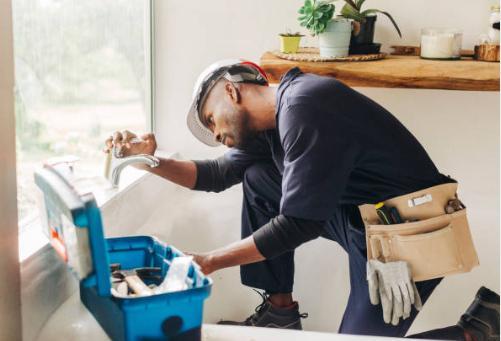
Faucet Fix: DIY Tips for Repairing a Leaky Faucet
A typical household issue, a leaky faucet may become very annoying if left unchecked. Not only does it waste water, but it can harm your sink and encourage the spread of mold. Fortunately, repairing a leaky faucet yourself can save you money on expensive repairs and lower your water bill. We’ll walk you through the process of repairing a leaky faucet in this post using our best do-it-yourself advice.
Identify the Problem
To fix a leaky faucet, you must first determine what’s wrong. Two sorts of faucet leaks are frequently encountered: leaky faucets and faucets that won’t shut off fully. The most common reason for a dripping faucet is a worn-out washer or O-ring. Usually, a worn-out valve or cartridge is to blame for a faucet that won’t shut off fully. After determining the kind of leak, you may begin to address the issue.
Gather the Necessary Tools
To fix a leaky faucet, you will need a few basic tools. These include an adjustable wrench, a screwdriver, a replacement washer or O-ring, and a replacement valve or cartridge (if necessary). You may also need a pair of pliers, a flashlight, and some lubricant.
Turn Off the Water
Make careful to shut off the water supply before you begin working on your faucet. The shut-off valve is typically found nearby the water meter or under the sink. After turning off the water, open the faucet to let any water that may have remained in the pipes escape.
Disassemble the Faucet
You must take apart the faucet in order to repair a leak. The handle, which is typically secured in place by a screw or nut, should be taken off first. Following that, take the packing nut off and unscrew the stem. The washer or O-ring can be checked for damage after the stem has been removed.
Replace the Washer or O-ring
Replace the Valve or Cartridge
A worn-out valve or cartridge is most likely to blame for a faucet that won’t shut off entirely. You must remove the old valve or cartridge and replace it with the new one in order to replace it. Make sure to select the appropriate valve or cartridge for your faucet in terms of size and kind.
Reassemble the Faucet
Reassembling the faucet is important once you have changed the appropriate components. Reattaching the stem and packing nut should come first. Reattach the handle after that, and then turn the water back on. Make sure the faucet is functioning properly and that there are no leaks by testing it.
Visit our website Leak Troopers Plumbing of Miramar and Google My Business Page or call this number if you have leaky faucet issue right away (754) 258-6205.